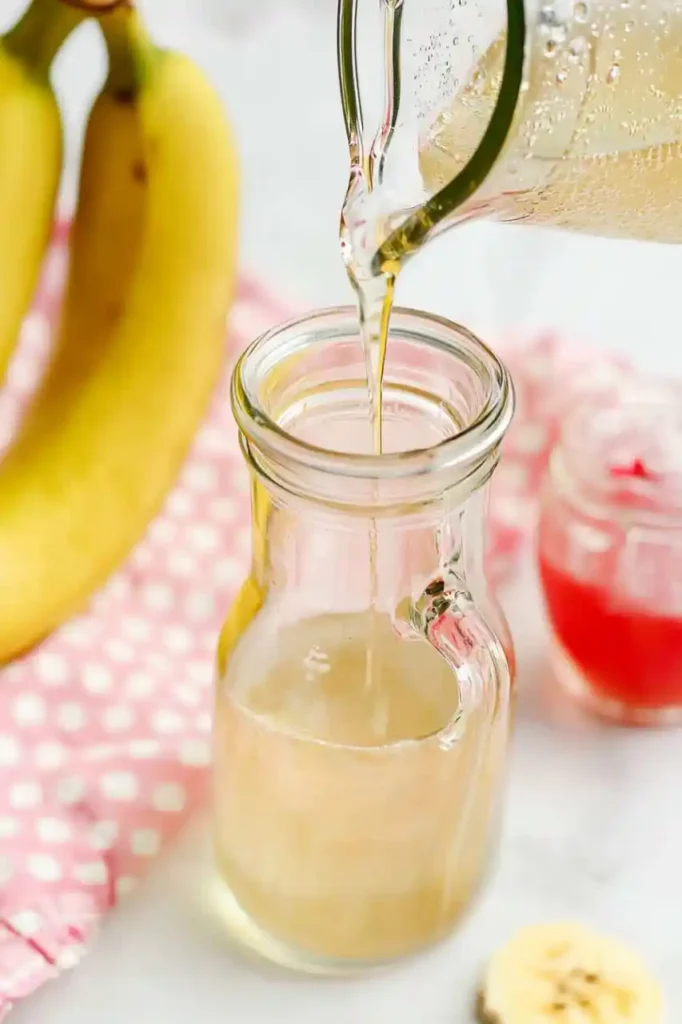
Banana syrup offers a tasty way to infuse banana flavor into various recipes. It consists primarily of bananas, sugar and water. When prepared properly, it results in a sweet yet fruity sauce that highlights the banana’s distinct and natural taste. The syrup often comes as a thin, easily poured consistency allowing it to seamlessly blend into different applications either as a simple enhancement or creative new use.
It affords an easy method for benefiting from ripe bananas that may be in excess of current eating needs. First, its production requires just basic staple ingredients found in most kitchens. Then, its wonderful smell and taste add enjoyment to an array of meals, drinks or baked goods. Whether drizzled over pancakes, stirred into smoothies or even employed in desserts as a topping, banana syrup makes the most of the fresh fruit while livening up regular routines.
Banana Syrup Ingredients
- Granulated sugar : The primary sweetener in the syrup. When dissolved in water and heated, it creates a simple syrup base.You can adjust the amount of sugar based on how sweet you want the syrup to be.
- Ripe bananas : Ripe bananas are essential as they are naturally sweeter and softer, making them ideal for infusing flavor into the syrup.
- Water : Combines with sugar to form the liquid base of the syrup. It helps dissolve the sugar and extracts the flavor from the bananas.
- Vanilla extract : Use pure vanilla extract for the best results.
- Salt
How To Make Banana Syrup
Begin by peeling the bananas and slicing them into even pieces, roughly ¼-½ inch thick.
Why? Uniform slices allow the bananas to cook evenly and release their flavor more effectively into the syrup.
In a medium-sized pot, combine granulated sugar and water. Place the pot over medium heat and stir constantly until the sugar is fully dissolved.
You’ll know the sugar has dissolved when the mixture turns clear and no granules remain.
Why dissolve sugar first? This step ensures the syrup has a smooth consistency and prevents sugar crystals from forming later.
Stir in a pinch of salt to balance the sweetness of the syrup.
Add the banana slices to the pot and lower the heat to a gentle simmer.
Why simmer? A gentle simmer allows the bananas to soften and infuse their natural flavor into the syrup without breaking apart too quickly.
Let the mixture simmer for 10-15 minutes, stirring occasionally. During this time, the bananas will release their natural sugars and flavors, making the syrup rich and aromatic.
Keep an eye on the pot to prevent the bananas from sticking to the bottom or burning.
Once the simmering is complete, remove the pot from the heat and stir in the vanilla extract.
Why add vanilla at the end? Vanilla is heat-sensitive, and adding it at the end preserves its flavor and aroma.
Let the syrup cool slightly, then strain it through a fine mesh sieve or cheesecloth into a bowl or jar. Use the back of a spoon to press the banana chunks against the sieve, extracting as much liquid as possible.
Why strain? This step removes the banana solids, leaving you with a smooth, pourable syrup. If you prefer a chunkier syrup, you can skip this step.
After straining, allow the syrup to cool completely to room temperature. Pour it into a clean jar or bottle with a tight-fitting lid.
Storage: Store the banana syrup in the refrigerator for up to 1-2 weeks. Shake or stir before use, as natural separation may occur.

Top Tips
- Mashing the banana slices into smaller pieces while heating allows their flavor to infuse the liquid more effectively. Use a fork to lightly smash bananas.
- Simmering the mixture over medium-low heat is crucial. Gentle heating prevents excessive water loss through boiling, which could lead to a thinner syrup consistency than desired.
- In addition, after simmering, straining the syrup with a fine mesh sieve ensures a smooth texture free of bits. This separation stage is when banana chunks are removed.
- To boost banana taste, consider letting slices marinate in the sugar for one to two hours before cooking. This draws out maximum flavor from the fruit .
- Opt for a sugar alternative like stevia instead of granulated sugar to create a sugar-free version.
Variations
- For a cozy twist, infuse the syrup with cinnamon sticks and nutmeg to enhance its banana flavor.
- For a delightful blend, incorporate strawberry slices along with the bananas during the simmering process, then strain them out before letting the syrup cool.
How To Store
Keep this homemade syrup in a tightly sealed jar in the refrigerator for up to 2 weeks. Freezing is not recommended.
Uses for Banana Syrup:
- Breakfast Toppings: Drizzle over pancakes, waffles, or French toast for a sweet, fruity twist.
- Desserts: Use as a topping for ice cream, cakes, or pies.
- Drinks: Stir into coffee, tea, milkshakes, or cocktails for a unique banana flavor.
Glaze: Brush it over baked goods like banana bread or muffins for added moisture and sweetness.
More Recipes

Banana Syrup
Ingredients
- 1 cup granulated sugar
- 3 ripe bananas
- ½ cup water
- 1 teaspoon vanilla extract
- ¼ teaspoon salt
Instructions
- Get the bananas ready by peeling them and cutting them into small slices.
- In a small pot, mix the sugar and water together. Set the pot on medium heat, stirring constantly until the sugar fully dissolves.
- After the sugar dissolves, add the salt and banana slices. Lower the heat and let it simmer gently for 10-15 minutes, stirring occasionally to avoid sticking and to help the bananas soften and blend.
- Once the mixture has simmered, take it off the heat and mix in the vanilla extract. Let it cool for a few minutes before handling.
- After the mixture has slightly cooled, pour it through a fine mesh strainer or cheesecloth into a clean container to separate the banana pieces from the syrup.
- Allow the syrup to reach room temperature, then transfer it into a jar or bottle for storage.