
I’ve always had a soft spot for citrus desserts, and these gluten free key lime pie bars are one of those recipes I keep coming back to again and again.I usually make these when I want something light after dinner but still indulgent enough to feel like a treat.
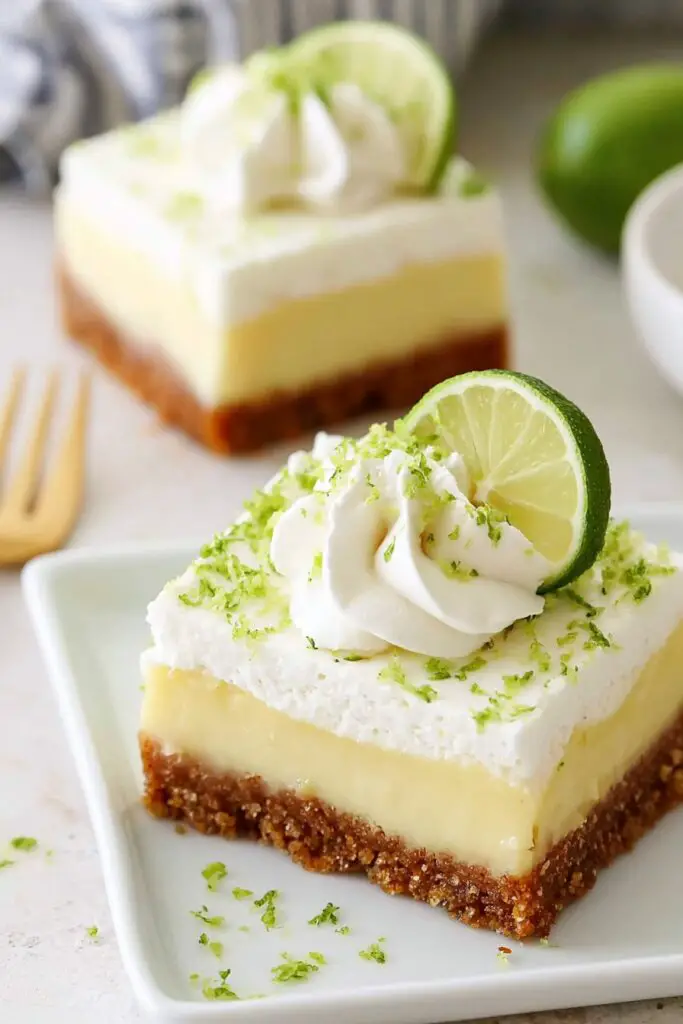
What I love most is how these lime bars come together with just a few simple steps. No complicated baking, just a smooth filling and a buttery base that sets beautifully in the fridge
Ingredient Notes & Substitutions
GLUTEN-FREE COOKIE CRUST (GRAHAM-STYLE OR DIGESTIVE BISCUITS)
You’ll need about 1½ to 2 cups of crushed gluten-free cookies. I usually go for gluten-free graham-style biscuits because they give that classic pie-bar flavor. Look for ones that crumble easily and smell slightly sweet and toasty. If you can’t find them, almond flour mixed with a little butter also works beautifully for a more naturally gluten-free base.
BUTTER (MELTED)
About 6–8 tablespoons helps bind the crust together. I always use unsalted butter so I can control the sweetness. When melted, it should coat the crumbs evenly, giving you a firm but still slightly crumbly base. Coconut oil is a good dairy-free substitute if needed.
SWEETENED CONDENSED MILK
This is what makes these gluten free key lime pie bars with condensed milk so rich and creamy. One full can (around 1 cup) is usually enough. It gives that silky texture and sweet balance that pairs perfectly with lime. If you want a lighter version, you can use coconut condensed milk for a slightly tropical twist.
KEY LIME JUICE (OR FRESH LIME JUICE)
About ½ cup is ideal. Fresh is always best because it gives that sharp, bright flavor. Key limes are smaller and more aromatic, but regular limes work just fine if that’s what you have. Just make sure they’re juicy and firm when buying.
EGG YOLKS
You’ll need 3 to 4 yolks depending on how rich you want the filling. They help the filling set into that smooth, sliceable texture. If you’re avoiding eggs, a thick cornstarch slurry can be used, but the texture will be slightly softer.
LIME ZEST
A tablespoon or so adds extra citrus punch. Always choose fresh, bright green limes and zest them right before mixing so the oils stay fragrant. This is what makes these bars taste truly homemade.
Step-by-Step Instructions
- Start by preparing your crust. Crush gluten-free cookies into fine crumbs and mix them with melted butter until it feels like damp sand. Press firmly into a lined baking pan so it forms an even base.
- Bake the crust for about 8–10 minutes until lightly golden and set. The kitchen will start smelling buttery and warm at this point, which is always a good sign.
- While the crust cools slightly, whisk together sweetened condensed milk, egg yolks, lime juice, and lime zest in a bowl. The mixture should look smooth, creamy, and slightly thick.
- Pour the lime filling over the warm crust and spread it evenly. It should glide smoothly and settle into a glossy layer.
- Bake again for about 12–15 minutes until the edges are set but the center still has a slight jiggle.
- Let the pan cool completely at room temperature, then refrigerate for at least 3–4 hours. This step is important it’s what turns it into perfect sliceable lime bars gluten free style.
- Once chilled, slice into squares and serve cold. The texture should be creamy, soft, and slightly firm with a bright citrus finish.
Expert Tips
- Use freshly squeezed lime juice for the brightest flavor, bottled juice won’t give the same freshness.
- Press the crust firmly so your bars hold their shape when sliced.
- Don’t overbake the filling; a slight jiggle means it will set perfectly in the fridge.
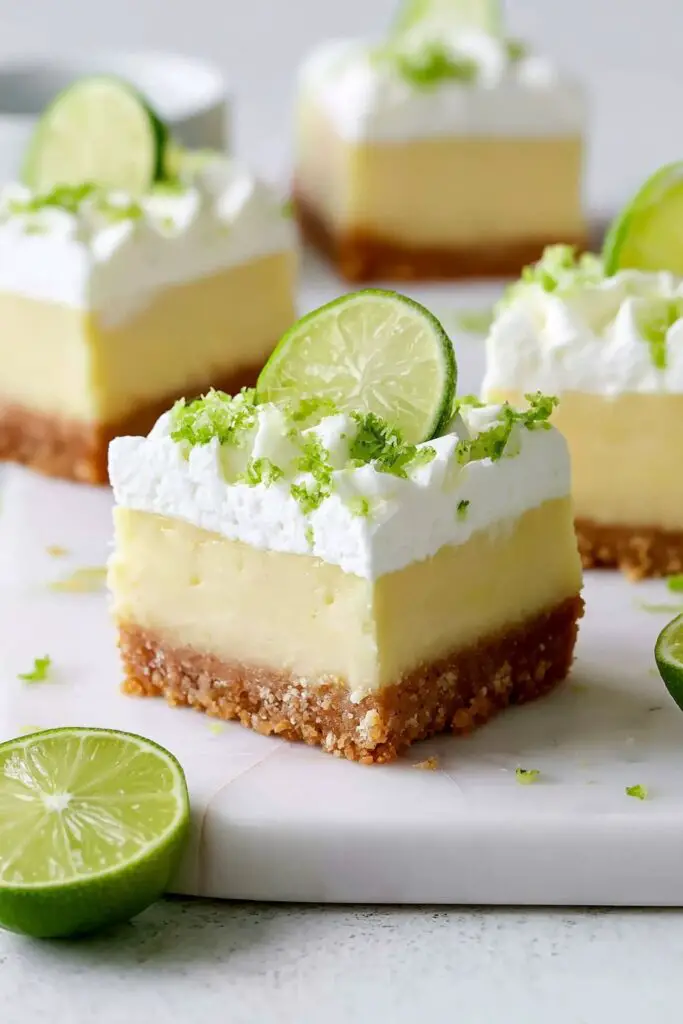
- Chill fully before slicing for clean, sharp edges.
- Add extra lime zest on top for a stronger citrus aroma.
- Use parchment paper so you can lift the entire slab out easily for cutting.
Storage & Make-Ahead
These bars store really well, which makes them perfect for planning ahead. Keep them in an airtight container in the fridge, and they’ll stay fresh for about 4–5 days.
If you want to freeze them, cut them into squares first and store them with parchment between layers. They freeze well for up to a month.
To serve again, just let them thaw in the fridge, no reheating needed. In fact, they taste best cold, straight from the fridge.
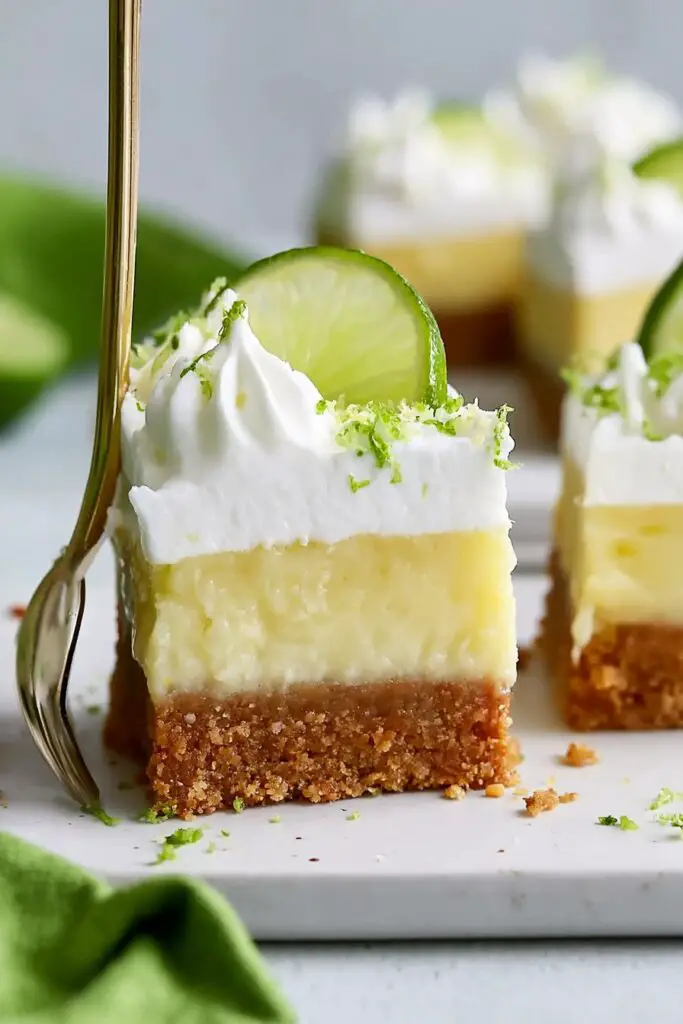
You can also prepare the crust a day ahead, then add the filling when you’re ready to bake. It actually makes the process feel easier and more relaxed.
What to Serve With
I love serving these gluten free key lime pie bars after grilled chicken, seafood dishes, or even light pasta meals. The citrus flavor feels like the perfect way to end a rich or savory dinner.
They also fit beautifully into summer picnics, family gatherings, or weekend barbecues when you want a refreshing dessert on the table.
Honestly, they work for almost any occasion, especially when you want something sweet but not too heavy.
FAQs
Can I use regular limes instead of key limes?
Yes, regular limes work perfectly for this gluten free lime dessert recipe.
Can I make these dairy-free?
Yes, use coconut condensed milk and dairy-free butter.
Why didn’t my bars set properly?
They likely needed more chill time or slightly longer baking.
Can I freeze key lime pie bars?
Yes, they freeze well and stay creamy after thawing in the fridge.
Gluten Free Key Lime Pie Bars
Ingredients
- 1½ –2 cups gluten-free cookie crumbs
- 6 –8 tbsp melted butter
- 1 can 1 cup sweetened condensed milk
- ½ cup fresh lime juice
- 3 –4 egg yolks
- 1 tbsp lime zest
Instructions
- Mix cookie crumbs and butter, then press into a baking pan.
- Bake crust until lightly golden and set.
- Whisk condensed milk, lime juice, zest, and egg yolks until smooth.
- Pour filling over crust and bake until edges set.
- Chill for at least 3–4 hours until firm.
- Slice and serve cold.