
These Peanut Butter Protein Balls No Bake are the kind of snack you’ll want to keep in your fridge all week.
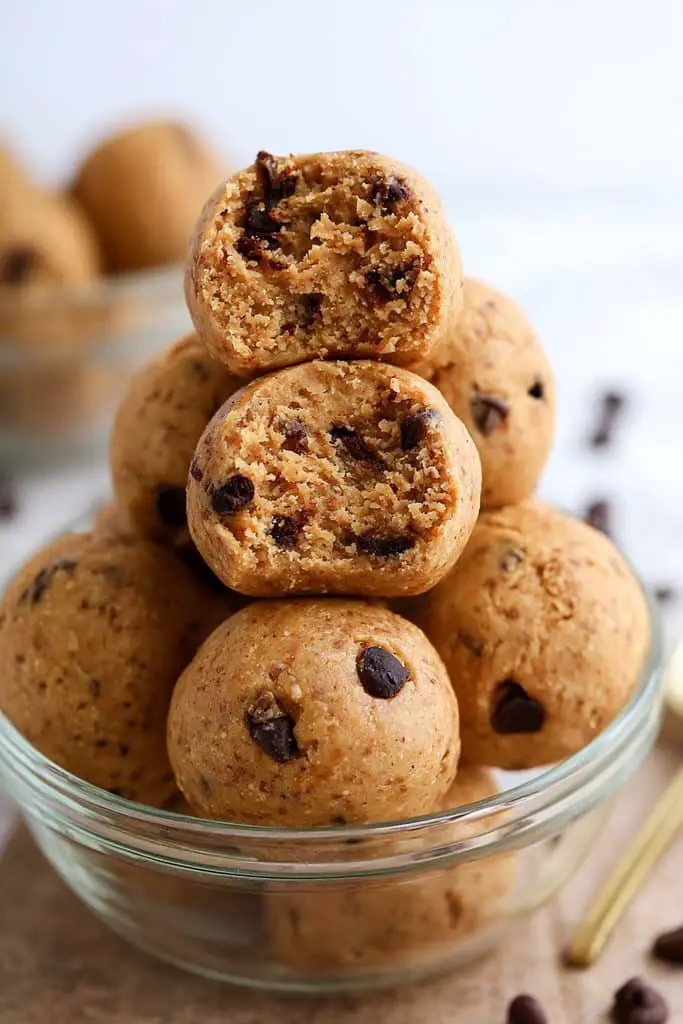
Just stir everything together, roll the mixture into balls, and let the fridge do the rest. Whether you need a quick breakfast on a busy morning, a post-workout snack, or something sweet in the afternoon, these homemade protein balls are an easy option to have ready.
The best part? You can customize them with chocolate chips, a little honey, or your favorite add-ins. If you enjoy chocolate peanut butter protein balls no bake recipes, this version is a great place to start.
Why You’ll Love These Peanut Butter Protein Balls
- No baking required: Mix, roll, chill, and enjoy. There’s no oven or complicated equipment involved.
- Easy to meal prep: Make a batch at the beginning of the week and keep the bites ready for busy days.
- Easy to customize: Add mini chocolate chips, cinnamon, shredded coconut, or chopped nuts to suit your taste.
- Made with everyday ingredients: You can find most of what you need in a regular grocery store.
- Perfect for portioning: Each ball is a convenient grab-and-go snack when you want something small and filling.
Ingredient Notes & Substitutions
PEANUT BUTTER
You’ll need about 1 cup of peanut butter for this recipe. Choose a fresh jar with a rich roasted-peanut aroma. Natural peanut butter works well, but stir it thoroughly before measuring because the oil often separates at the top. If you have a peanut allergy, sunflower seed butter is a useful alternative, although the flavor will be different.
ROLLED OATS
Regular rolled oats are my first choice because they hold their shape while still softening as the mixture chills. Quick oats can work if you prefer a softer, more compact bite. Avoid steel-cut oats, which stay too hard for this no-bake recipe unless they’re cooked first. If you want a smoother texture, pulse the rolled oats briefly in a food processor.
PROTEIN POWDER
Use approximately ½ cup of vanilla or chocolate protein powder. Whey and plant-based protein powders can both work, but they absorb liquid differently. Choose a powder you already enjoy drinking, since its flavor will come through in the finished snack. If the mixture feels too dry after adding it, a small spoonful of milk can help.
HONEY
A mild-flavored honey works best because it won’t overpower the peanut butter. Maple syrup is a good substitute, although the mixture may be a little softer or stickier. Start with slightly less sweetener if your protein powder is already sweetened, then adjust the taste before rolling.
GROUND FLAXSEED
Choose finely ground flaxseed rather than whole seeds for a more even texture. Chia seeds can be used instead, although they may create a slightly firmer texture as the mixture rests. You can leave this ingredient out if you don’t have it, but you may need a little extra oats to balance the consistency.
VANILLA EXTRACT
One teaspoon of vanilla extract rounds out the flavor and makes the peanut butter taste richer. Pure vanilla extract is lovely, but imitation vanilla works too. If you’re using chocolate protein powder, you can still include the vanilla for a more dessert-like flavor.
MINI CHOCOLATE CHIPS
About ¼ cup of mini chocolate chips gives the balls little bursts of chocolate without making them overly sweet. Mini chips distribute more evenly than regular-sized chips, so you get a little chocolate in every bite. Dark chocolate is especially good if you prefer a less sweet snack. You can also swap in finely chopped dark chocolate, cacao nibs, or a small handful of raisins.
Step-by-Step Instructions
1. Combine the dry ingredients.
Add the rolled oats, protein powder, and ground flaxseed to a large mixing bowl. Stir with a spoon or spatula until everything looks evenly combined. Break up any lumps in the protein powder now; it’s much harder to do once the peanut butter goes in.
2. Add the wet ingredients.
Spoon in the peanut butter, honey, and vanilla extract. Mix slowly at first, scraping the sides and bottom of the bowl as you go. The mixture will become thick and sticky, and the oats will gradually absorb some of the moisture. Keep stirring until no dry pockets remain.
3. Fold in the chocolate chips.
Add the mini chocolate chips and fold them through the mixture. Taste a tiny amount and adjust the sweetness if needed. If the mixture crumbles when pressed between your fingers, add milk one teaspoon at a time. If it’s too sticky to handle, stir in a little more oats or protein powder.
4. Shape the protein balls.
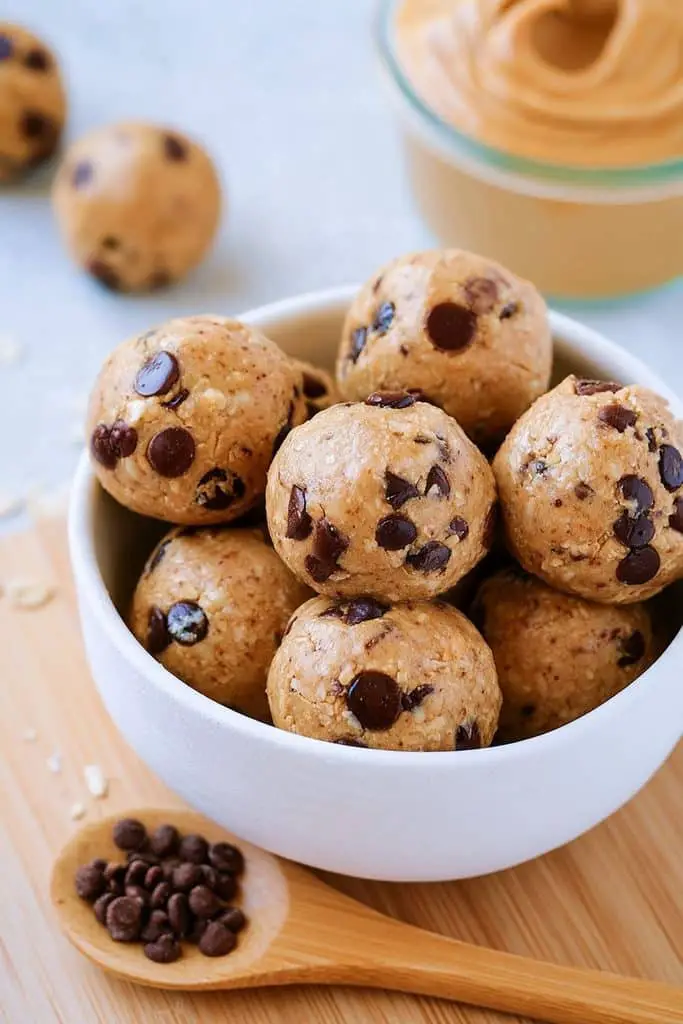
Scoop out about one tablespoon of mixture for each ball. Roll it gently between your palms until you have a smooth, compact round. If the mixture sticks to your hands, lightly dampen your palms with water. Arrange the balls on a parchment-lined plate or tray, leaving a little space between them.
5. Chill until firm.
Place the tray in the refrigerator for about 30 minutes. This gives the oats time to absorb moisture and helps the peanut butter firm up. The balls should feel more stable when you pick them up, rather than soft and sticky.
6. Serve or store.
Enjoy the balls straight from the fridge, or let them sit at room temperature for a few minutes if you prefer a softer bite. Transfer the remaining portions to an airtight container. They’re now ready for breakfast, snack breaks, or your next meal-prep session.
Expert Tips
- Choose well-stirred peanut butter. Separated oil can make the mixture greasy, so mix natural peanut butter thoroughly before measuring.
- Add liquid gradually. Protein powders vary in absorbency; use milk a teaspoon at a time rather than making the mixture too wet.
- Don’t make the balls too large. A tablespoon-sized portion is easy to grab and helps the batch chill evenly.
- Chill before judging the texture. The mixture may feel soft initially, but the oats absorb moisture and the peanut butter firms up in the fridge.
- Use mini chocolate chips. They spread more evenly through the mixture, giving you chocolate in more bites.
- Adjust the sweetness carefully. Taste the mixture before adding extra honey, especially if your protein powder is already sweetened.
- Keep your hands slightly damp. This makes rolling much easier without adding extra ingredients to the mixture.
Storage & Make-Ahead
Store your peanut butter protein balls in an airtight container in the refrigerator for up to 1 week. If you’re stacking them, separate the layers with parchment paper to prevent sticking. Keep the container refrigerated between servings, particularly in warm weather.
For longer storage, arrange the balls in a single layer on a tray and freeze until firm. Transfer them to a freezer-safe container or bag, and they’ll keep their best quality for about 2-3 months. Thaw a few in the refrigerator overnight or let them soften briefly at room temperature before eating.
These protein balls don’t need reheating. In fact, microwaving them can make the peanut butter greasy and soften the texture too much. If they’re too firm straight from the fridge, simply leave them on the counter for five to ten minutes.
They’re also excellent for meal prep. Make a batch on Sunday, portion them into small containers, and you’ll have a convenient snack ready for the week. For the best texture, refrigerate them promptly and use clean hands and utensils when handling the mixture.
What to Serve With Peanut Butter Protein Balls
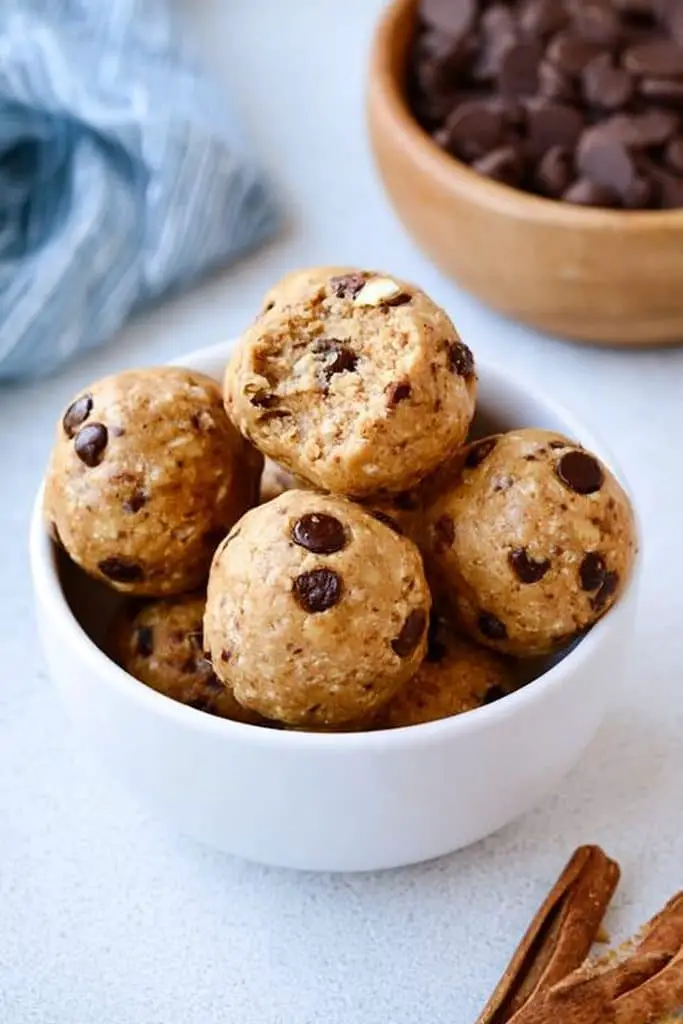
These bites are delicious on their own, but they’re even more useful when paired with other foods. For breakfast, enjoy two protein balls with Greek yogurt and fresh berries for a mix of creamy, fruity, and nutty flavors. A banana and a glass of milk also make an easy combination when you need something quick before heading out.
After a workout, you could serve them alongside a smoothie made with milk, banana, and yogurt. If you’re planning a more substantial breakfast or snack, pair them with scrambled eggs or a bowl of cottage cheese, depending on your preferences and what’s available.
For busy weekdays, keep a few balls in the fridge alongside fresh fruit for a quick snack between meals. They’re also a nice addition to a homemade snack platter with apple slices, strawberries, and a few squares of dark chocolate. Because they’re small and easy to serve, they fit casual family gatherings, lunchboxes where permitted, and holiday snack tables too.
Frequently Asked Questions
1. How do you make peanut butter protein balls without baking?
Combine rolled oats, protein powder, ground flaxseed, peanut butter, honey, vanilla, and chocolate chips. Roll the mixture into small balls and refrigerate for about 30 minutes until firm. No oven is needed.
2. Can I make chocolate peanut butter protein balls without protein powder?
Yes. Replace the protein powder with a combination of extra oats and unsweetened cocoa powder, adding a little milk or peanut butter if needed to bring the mixture together. Keep in mind that the protein content will be lower and the texture may change.
3. Why are my peanut butter protein balls too dry or crumbly?
The protein powder or oats may have absorbed more moisture than expected. Add milk one teaspoon at a time and mix well until the mixture holds together when pressed. If it’s too sticky instead, add a small amount of oats.
4. Are no-bake peanut butter protein balls healthy?
They can be a convenient, satisfying snack because they provide protein, carbohydrates, and fats. Their nutritional value depends on the ingredients, serving size, and protein powder you choose. They’re energy-dense, so portion size matters if you’re monitoring your calorie intake.
Peanut Butter Protein Balls No Bake
Ingredients
- 1 cup creamy peanut butter about 250 g
- 1 cup old-fashioned rolled oats about 90 g
- ½ cup protein powder about 50-60 g
- ⅓ cup honey about 110 g
- 2 tablespoons ground flaxseed about 14 g
- 1 teaspoon vanilla extract
- ¼ cup mini chocolate chips about 40-45 g
- 1-2 teaspoons milk only if needed
Instructions
- Combine the oats, protein powder, and ground flaxseed in a large bowl.
- Add the peanut butter, honey, and vanilla. Mix until a thick dough forms.
- Fold in the mini chocolate chips. Add milk a teaspoon at a time if the mixture is too dry.
- Roll into 18 tablespoon-sized balls and place on a parchment-lined tray.
- Refrigerate for 30 minutes, or until firm.
- Store in an airtight container in the refrigerator for up to 1 week.